ID Cards Maker (Corporate Edition) Screenshots
ID Cards Maker (Corporate Edition) screenshots to know the procedure: how to design and print different types of ID Cards including Employee, Student and Visitor etc. of group of people simultaneously.
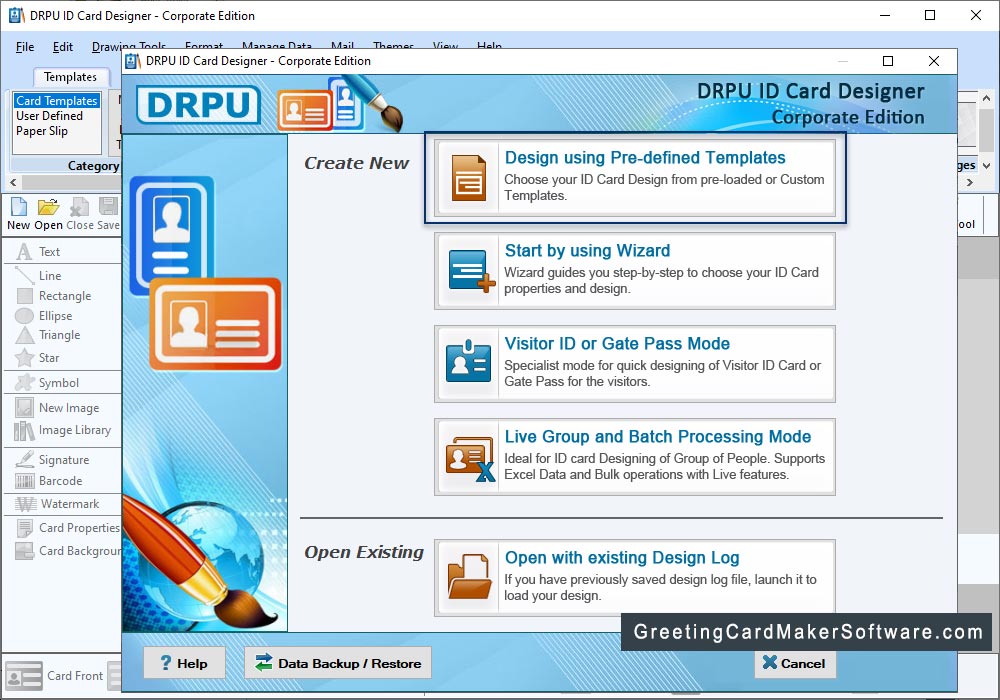
Here, You can choose either "Start with new Project" option or "Select existing project" option. In Case of "Start with new Project", Enter Project name, project path and Import Excel file.
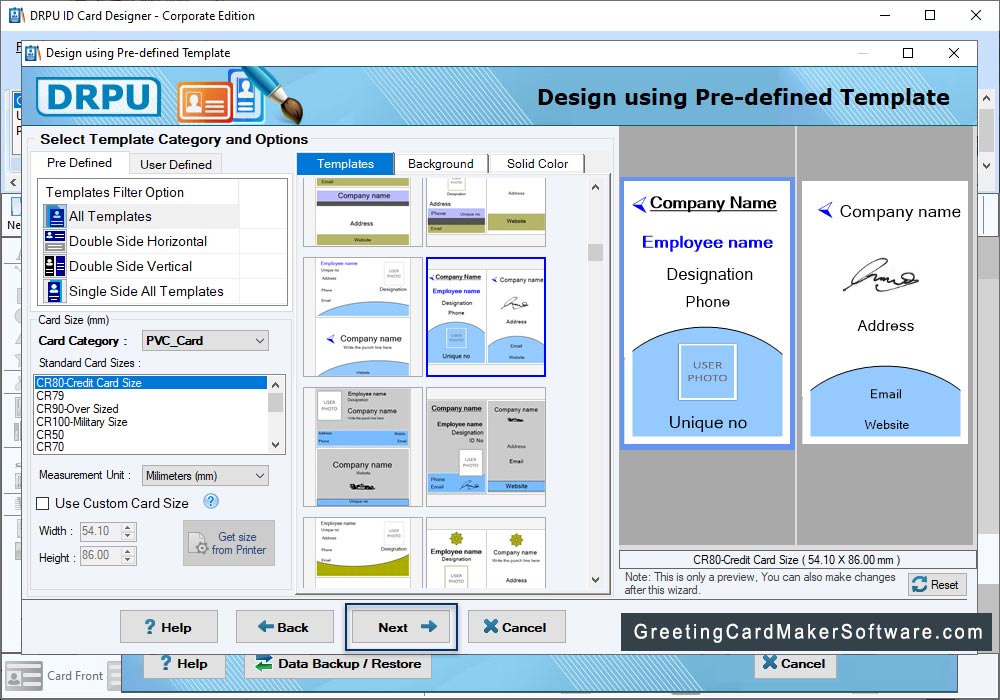
Select template category and choose samples, backgrounds as per your choice for designing ID card. Set card size and card sample. After selection Click on 'Next' Button.
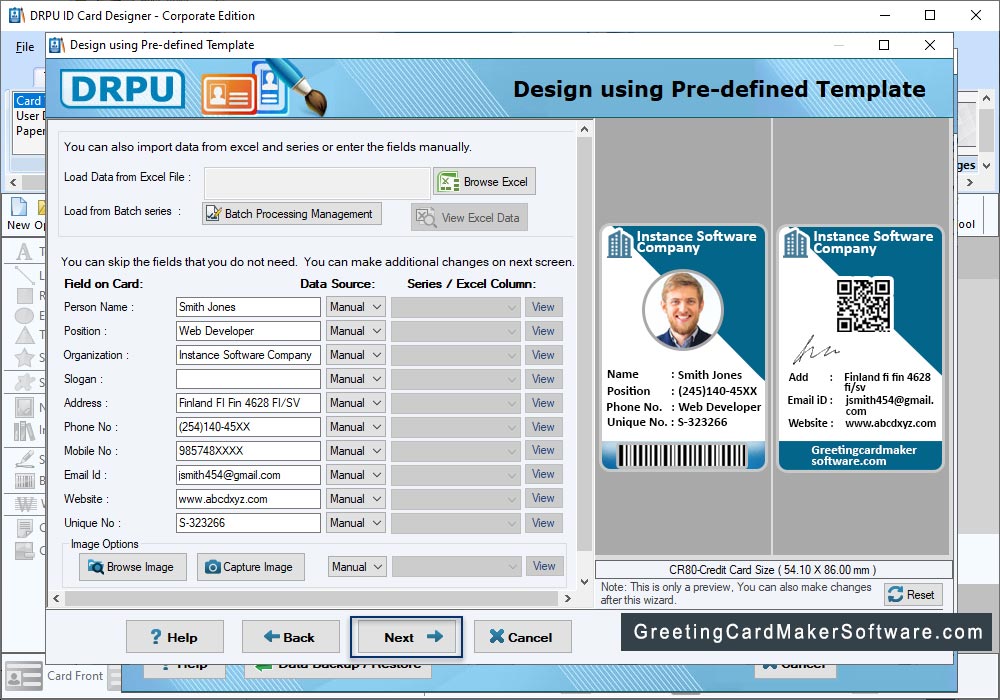
Now Select Excel Column for their respective ID Card Fields. Click "Ok" button.
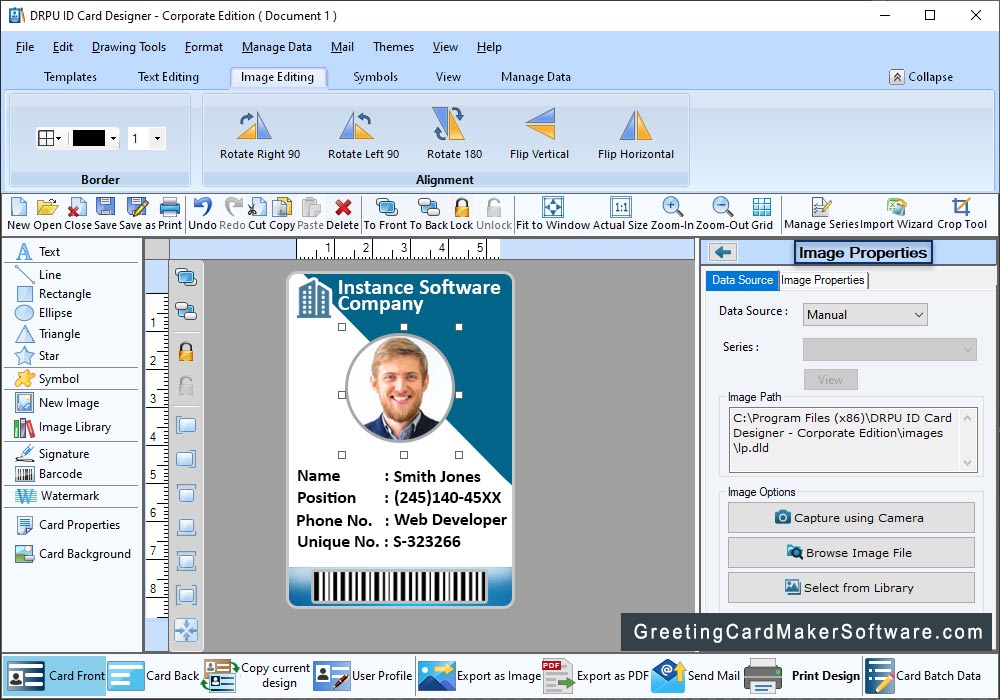
Here, in the left panel, you can see all the details which you have imported using Excel file. Check those boxes next to the labels and text, which you want to show on your ID card. You can add photo on ID Card by browsing path of image or by clicking photo using Camera.
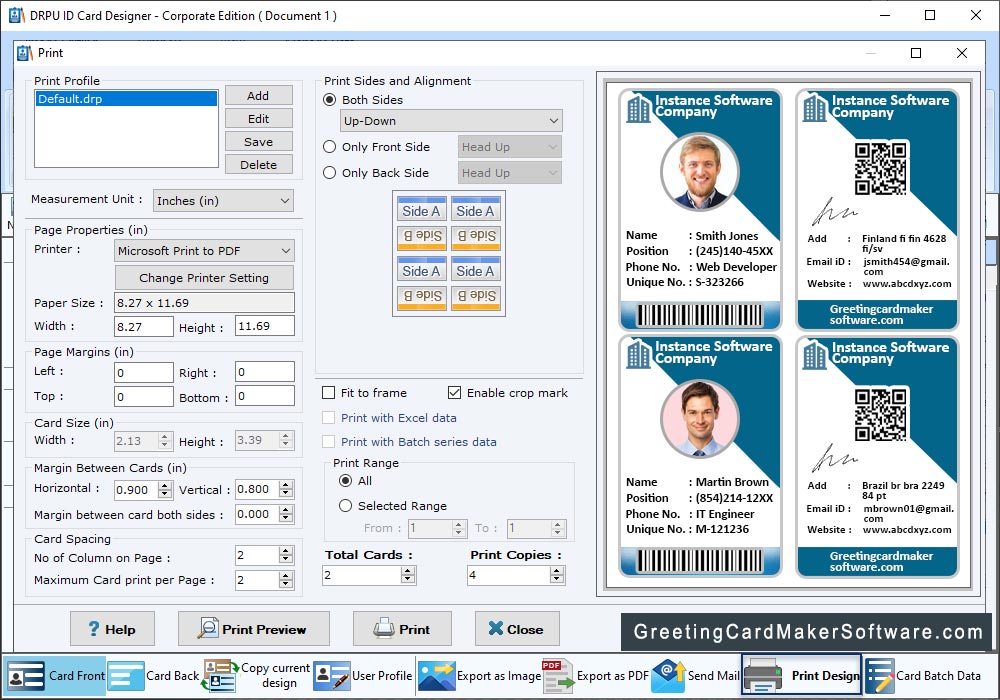
To print your designed ID Card, First go to the print button in toolbar. Set all printing settings and click "Print" button.
